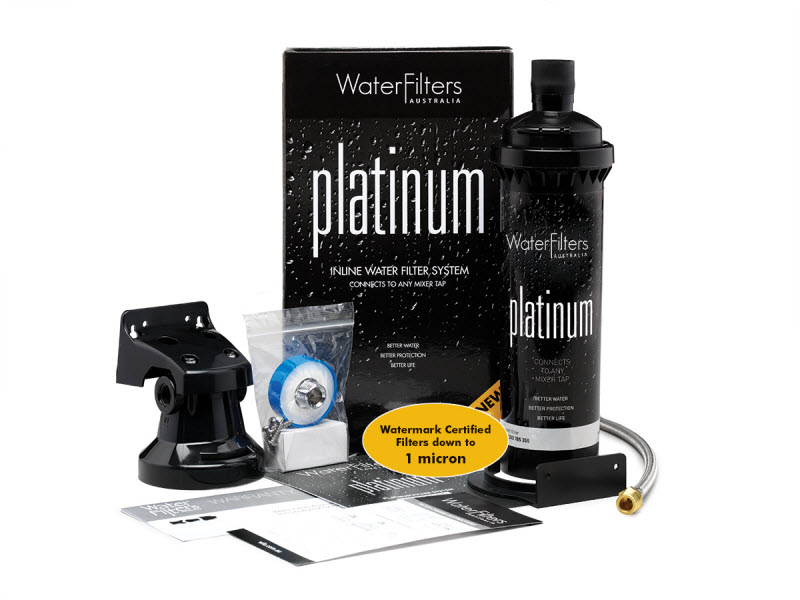
How to install a Platinum Inline Water Filter System
You’ve got your new Platinum Inline Water Filter System and the good news is that it is easy to install yourself. No need to call a plumber. Everything you need is in the box, even plumbing tape!
You’ll just need basic tools like a shifting spanner, a Phillips head screwdriver (or drill) and a pencil.
Check out this easy to follow step by step video.

Step One
First turn off the cold water supply to the kitchen tap and disconnect the cold water hose from the cold water control valve, which is underneath the sink. At this point you need to make sure you have a towel handy to catch any residual water from the hose.
Step Two
Install the dual check valve provided onto the cold water control valve using the sealing tape provided.
Please Note: With the aim of reducing the amount of plastic going into landfill WFA recently introduced an automated annual cartridge replacement email reminder service. As such, we will no longer be supplying the alarm monitor with each replacement water filter cartridge.
Step Three
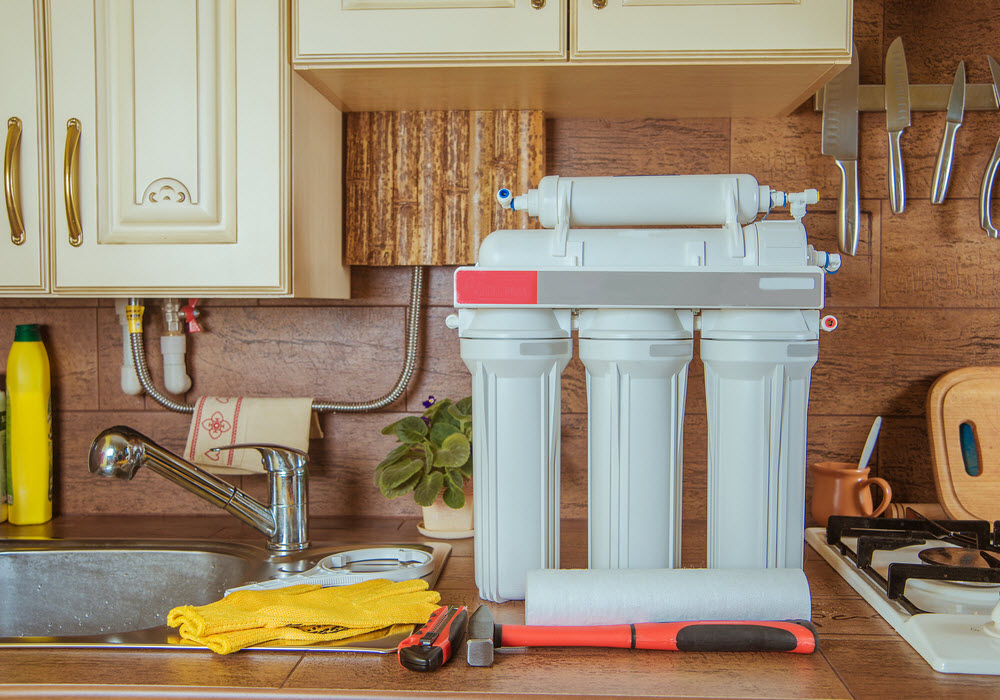
The next step is to locate the right position for the head assembly and filter cartridge.
It’s a good idea to screw the filter cartridge into the head because this will help show you the correct position to allow enough room to remove the cartridge when it needs to be replaced in 12 months’ time. Remember the head and cartridge can be installed in the horizontal position.
Please Note: The position of the head and cartridge needs to allow for the inlet and outlet hose connections.
When the correct location is decided, mark the position of the head with the pencil using the screw holes in the head as the guide.

Step Four
Remove the cartridge from the head. Next, apply sealing tape to the braided hose and screw the hose into the inlet of the filter head. Do not over tighten.
Step Five
Connect the brass adapter with black O-ring to the outlet of the head assembly. There is no need for plumbing tape as the O-ring will create the seal. Again, do not over tighten.
Step Six
At this point connect the braided inlet hose from the head to the cold water control valve. Again, no plumbing tape is required. Use the shifting spanner to tighten.

Step Seven
Using the marked location for the head assembly and the screws provided, screw the head to inside of the kitchen cabinet where marked.
WFA tip – drilling two ‘starter holes’ for the head screws makes final installation easier.
Step Eight
When the head is firmly in place, take the cold water hose from the kitchen tap and connect it to the outlet of the filter head. Use the shifter to tighten. No sealing tape is required, but do not over tighten.

Step Nine
Insert the filter cartridge into the head assembly and line up lugs in filter head. Push up and twist to the right to lock in place.
Step Ten
If the filter system is installed in the horizontal position, take the black stabilising bracket and position at the base of the filter cartridge. Then mark the location. Remove the filter cartridge and using screws provided secure the stabilising bracket in position. Re-insert the cartridge into head.

Step Eleven
Please Note: With the aim of reducing the amount of plastic going into landfill WFA recently introduced an automated annual cartridge replacement email reminder service. As such, we will no longer be supplying the alarm monitor with each replacement water filter cartridge.
Final Step
Turn the cold water control valve back on and check for leaks and reseal if needed. Once it’s ok, turn on the mixer tap and run the water for two to three minutes.
This will purge the air from the filter cartridge and activate the water filter so you can enjoy fast flowing filtered water every day!
Any questions? Check out our FAQ page or give our friendly customer service team a call!
Other Important Information
The filter head can be reversed to suit your under sink layout. If you look at the filter front on, you have the water coming in on the left and out on the right hand side. If you need to reverse it, just take the bracket off the top (via the four screws). Undo the screws and turn the bracket around. This will swap the water flow direction for the inlet and outlet of the filter system.
Want to buy a new water filter system? Browse our online store today.


